Raise Animals is a fun and immersive Roblox game that combines farming, animal collection, and adventure. This guide will help you quickly understand the game’s controls, interface, and early progression system—perfect for new players eager to build their first thriving farm.
Chapter 1: Character Movement and Interaction (Basic Controls)
The gameplay of Raise Animals follows standard Roblox key bindings, but it adds a few unique mechanics for exploration and capturing creatures.
Movement and Camera Control
| Action | Key/Command | Description |
|---|---|---|
| Move | W / A / S / D | Standard movement keys for PC players. |
| Jump | Spacebar | Helps you cross small obstacles or jump during races. |
| Run / Sprint | Hold Shift | Boosts speed—vital when chasing animals or escaping traps. |
| Adjust View | Hold Right Mouse Button | Control your view to explore your surroundings. |
| Switch Perspective | Mouse Scroll | Toggle between first-person and third-person views. |
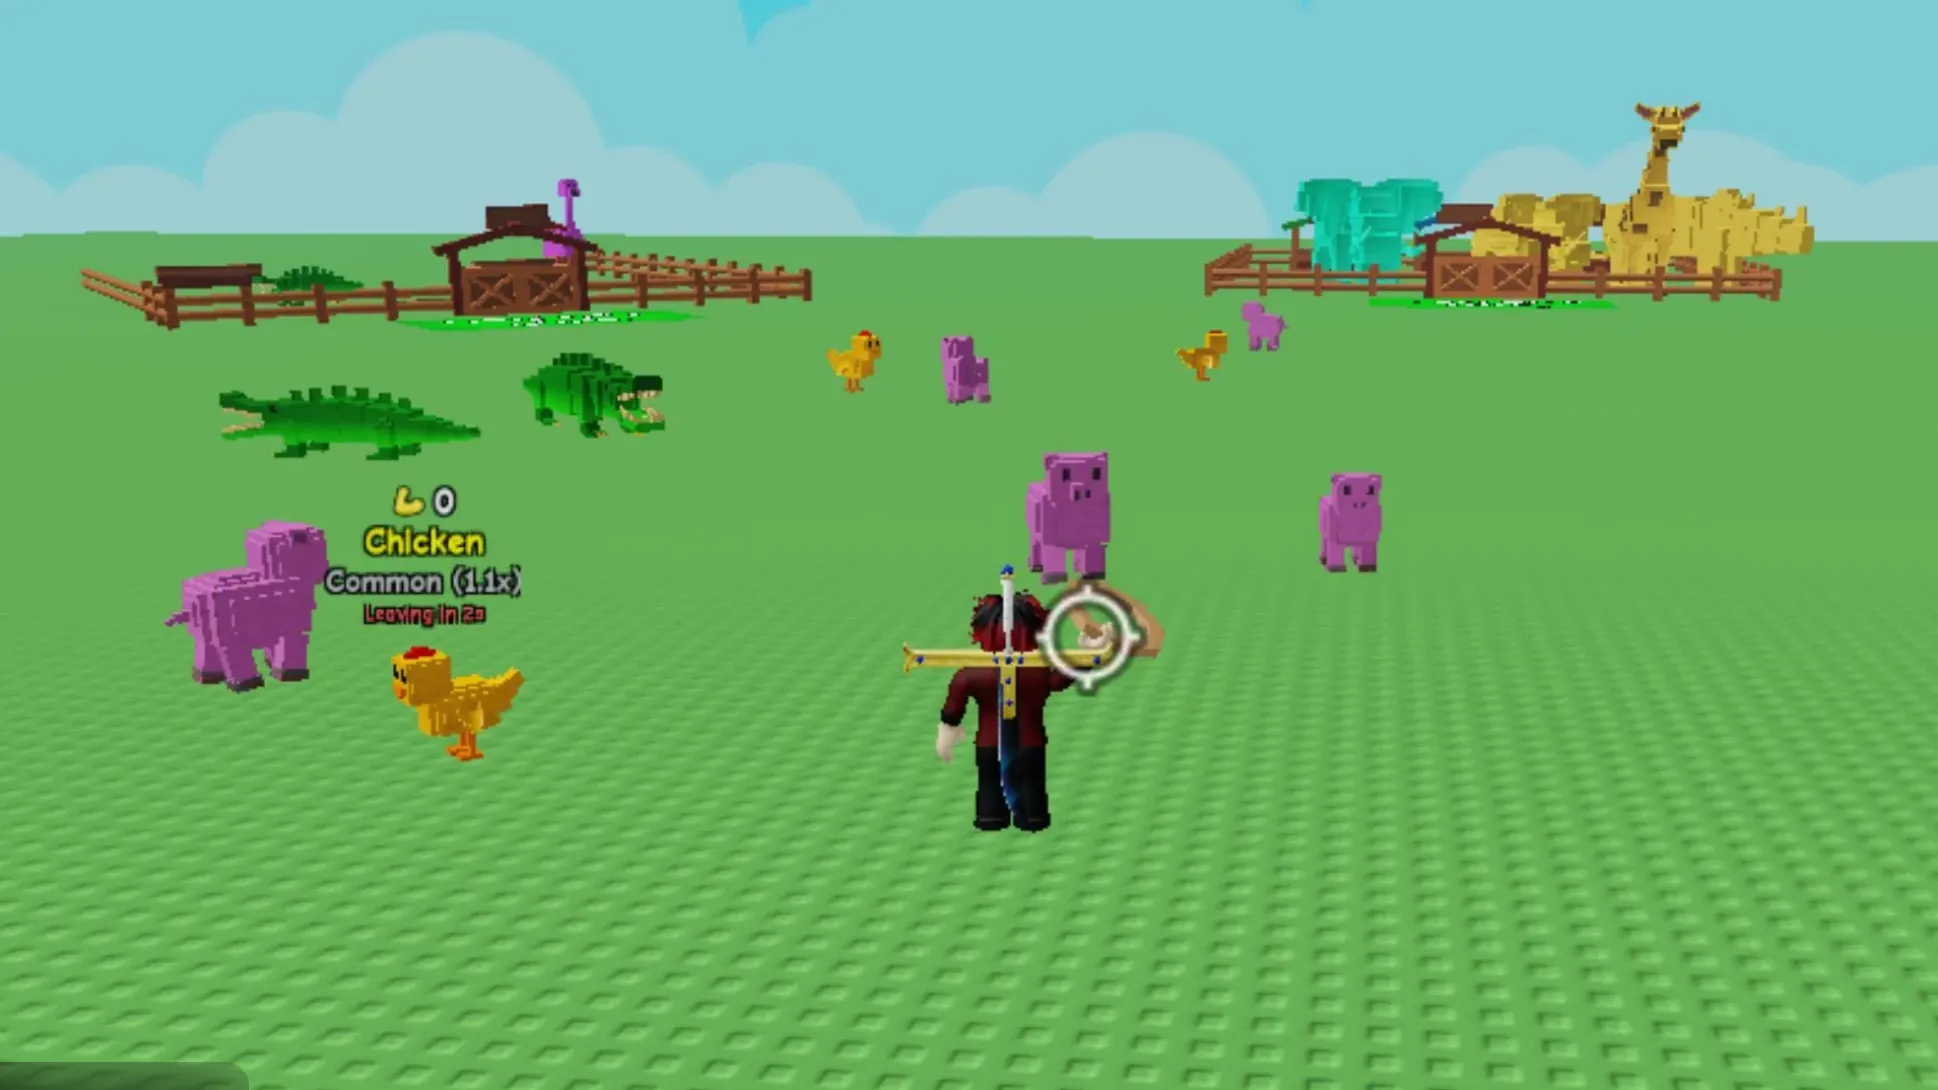
Chapter 1.2: The Lasso Capture System
Capturing animals is the heart of Raise Animals, so mastering the Lasso system is essential.
- Equip Your Lasso: Make sure a lasso is equipped in your inventory.
- Aim: Position your crosshair over the animal you want to capture.
- Throw: Click the left mouse button or tap the screen to throw.
- Success: A short animation plays to determine if your capture succeeded. If successful, the animal automatically goes into your inventory.
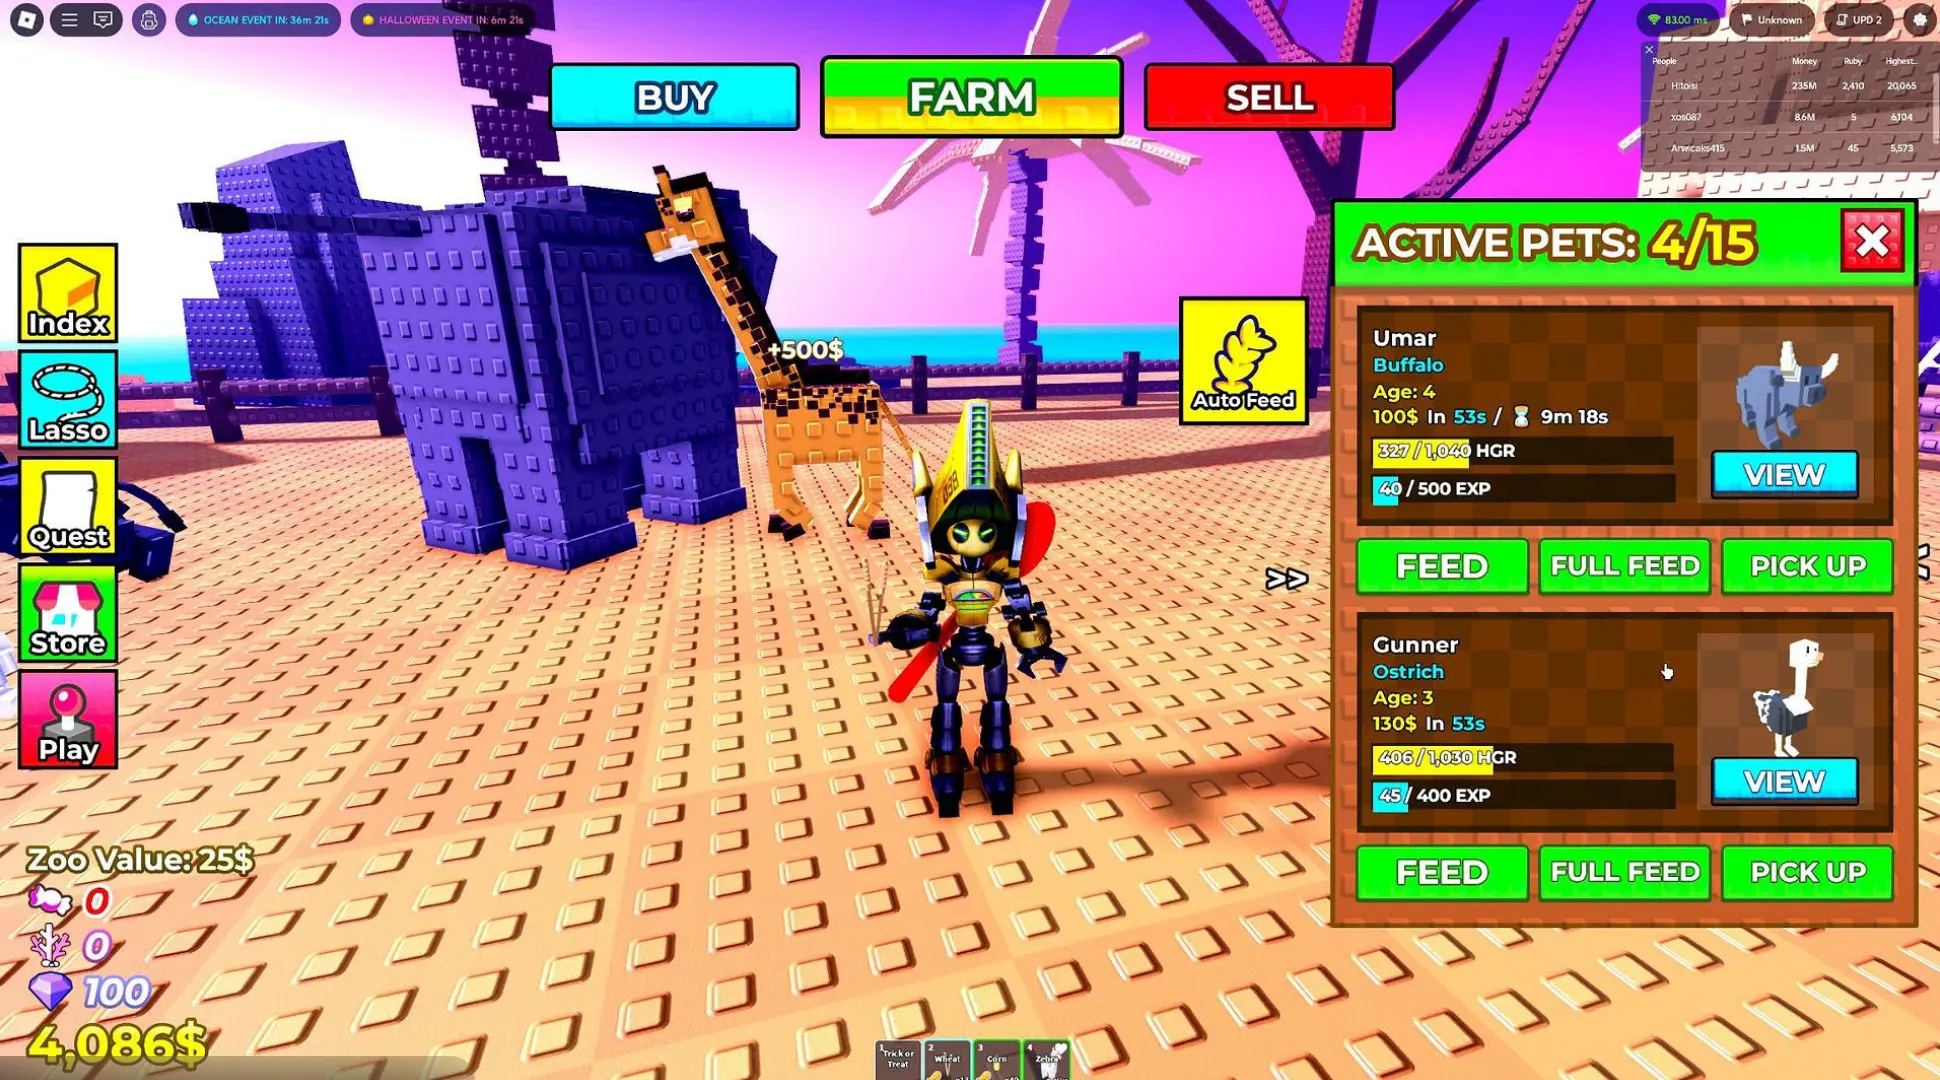
Chapter 2: Understanding the User Interface (UI)
To progress efficiently in Raise Animals, you must understand each element of the UI.
Top Resource Bar (The Vitals)
| Icon | Name | Function |
|---|---|---|
| 💵 | Cash | The main currency used for fences, decorations, and basic animals. |
| 💎 | Rubies | Premium currency for advanced lassos, map unlocks, and rare items. |
| 🪸 | Coral | Special event resource, mainly from daily quests and limited events. |
| ⭐ | Level Bar | Tracks your XP progress; leveling up unlocks new farm zones and tools. |
Bottom Quick Bar & Inventory
- Inventory: Stores your captured animals, food, and decorations. (Tip: Animals must be placed in fences to start earning income.)
- Quick Item Bar: Allows quick switching between lassos and items.
Sidebar & Menu Options
- Map / Teleport: Displays unlocked maps like Savannah and Tundra, and allows instant travel.
- Settings (Gear Icon): Includes sound, graphics, and Redeem Code section at the bottom.
- Shop: Purchase fences, decorations, food, and lasso gacha.
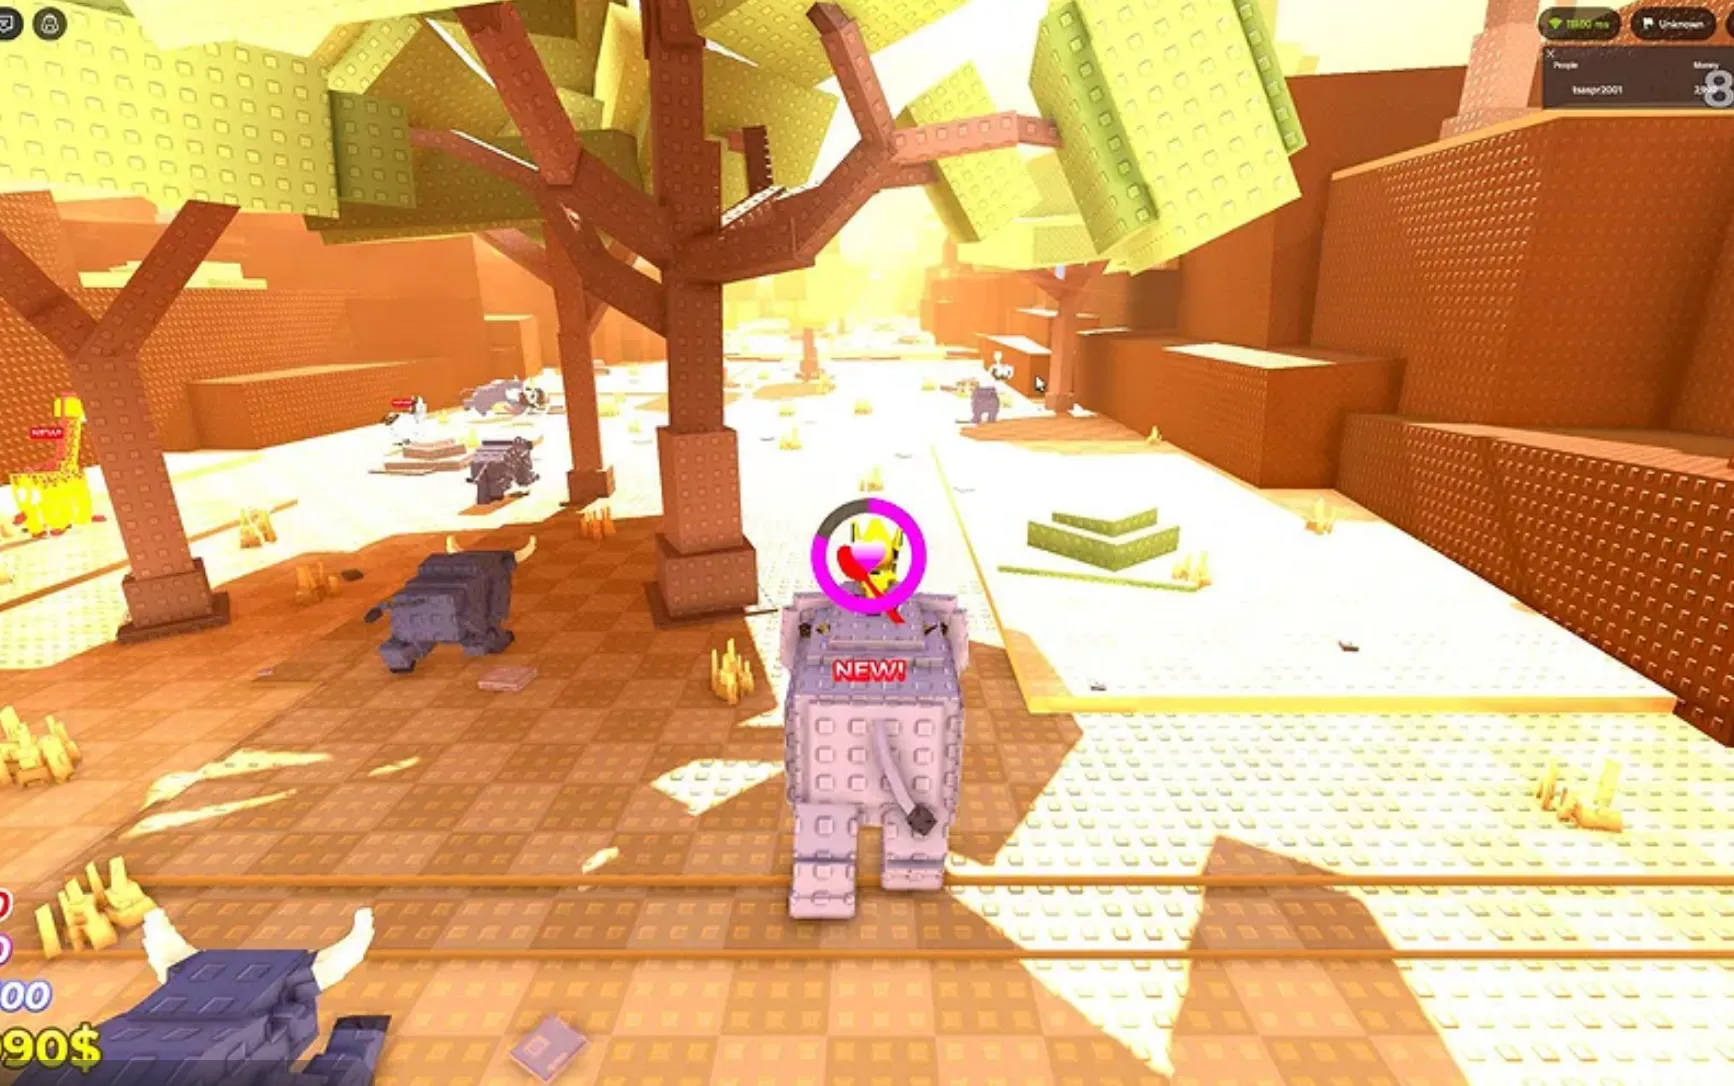
Chapter 3: Managing Your Farm
Once you return to your farm, it’s time to start building and managing your first animal enclosures.
- Place Fences: Purchase from the shop and place them in open spaces.
- Add Animals: Drag captured animals from your inventory into fences.
- Earn Visitor Income: Tourists visiting your farm will automatically generate income.
- Feed Animals: Keep them happy and productive using food crafted or bought from the shop.
New Player Tips: The First 5 Minutes Checklist
- Redeem All Codes: Enter every available code in the settings menu to gain starting funds.
- Practice Movement: Get used to sprinting and jumping before your first wild adventure.
- Buy Your First Fence: Use your initial cash to buy a fence and display your first set of animals.
Raise Animals is simple to start but deep to master. Once you’ve grasped the basics of movement, capturing, and UI, your farm will quickly grow into a vibrant ecosystem full of adorable creatures and endless rewards.